How to Draw a Circle Around Something in Powerpoint
Every in one case in a while you will meet a situation where yous demand to either create a semi-circle on the slide or add together a one-half filled circle in PowerPoint. The problem is, in that location doesn't seem to be a direct style to create a half circle in PowerPoint! So, how do you create a semi-circle in PowerPoint?
To create a semi-circle or half circle in PowerPoint, you tin can insert a pie shape on your slides and adjust the angle to 180 degrees. Y'all tin too insert a circle and rectangle on the slide, and use the "Subtract" or "Fragment" shapes options nether the "Merge Shapes" tool to create a semi-circle.
All this might seem a chip hard at first, especially if you are not well-versed with some of the advanced tools of PowerPoint.
Simply, don't worry, I will cover this process in a detailed step-by-step process with visual references so that you lot tin learn and replicate the process on your presentation too! My goal with this article is to explicate it in a manner that you lot can empathise the process even if you are simply starting out with PowerPoint.
So, allow's get started!
A Quick Note Before We Brainstorm – If y'all don't have time or if the process seems daunting, I highly recommend downloading presentation templates from Envato Elements. With Envato Elements, yous get admission to thousands of presentation designs with unlimited downloads so you never run out of options once more. Not only is Envato Elements very affordable, but besides the best in the business concern when information technology comes to templates!
i. How to Make a Half Circle in PowerPoint?
Permit'southward become straight to the point. How can you make a semi-circle in PowerPoint? Well, I will exist sharing ii different methods below. Feel free to choose the i which is more convenient for you.
However, in my opinion, 2d method is probably the fastest and the easiest. And so, hither nosotros become.
All the steps below volition need you to accept a basic understanding of how to insert and format shapes in PowerPoint.
Method 1 – Using Subtract Tool in Merge Shapes
Now, this is a bit of an advanced method in that it uses tools that you probably don't use on a daily ground. But with the steps mentioned below, you can easily become through it.
Step 1 – Insert a Perfect Circle on the Slide

The outset pace is to insert a "Perfect" circumvolve on the slide. To do that, click on the "Insert" ribbon. And so, click on the "Shapes" button. A dropdown will appear. Click on the "Oval" shape choice (equally shown in the paradigm above) equally there is no direct option to insert a circle.
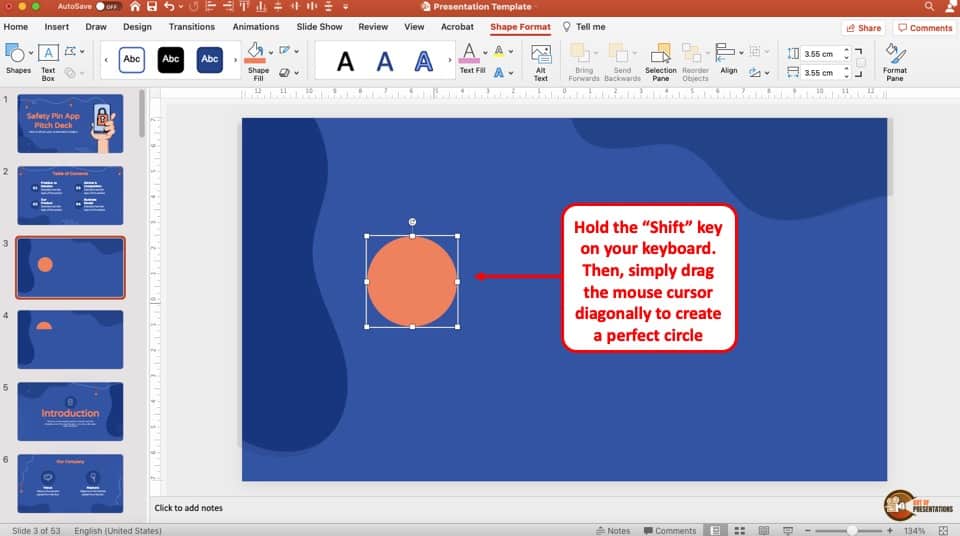
So, printing down the "Shift" key, and drag the mouse cursor in whatever one direction (preferably diagonally). You will stop up with a perfect "Circle".
Pace 2 – Insert a Rectangle
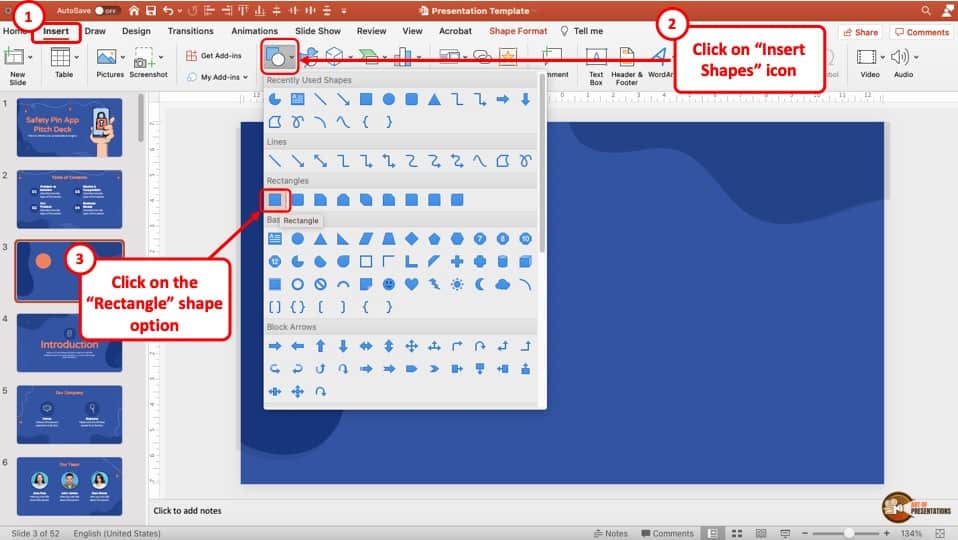
Now using similar steps, insert a rectangle on the slide. Click on the "Insert" tab. Then, click on the "Shapes" icon. From the dropdown, choose the "Rectangle" shape option (every bit shown in the image to a higher place).
Then, drag your mouse cursor on the slide to insert a rectangle.
Stride 3 – Align the Rectangle Exactly with the Centre of the Circle
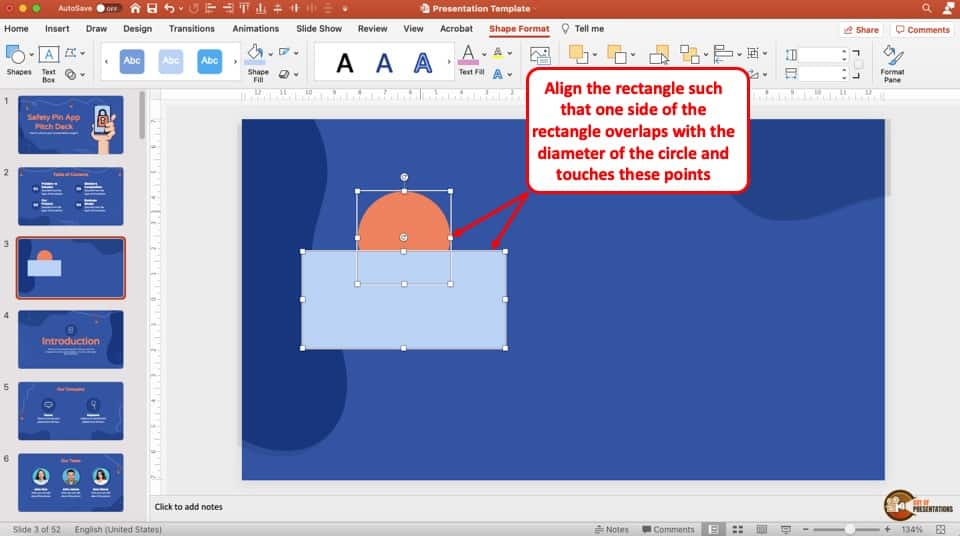
Every bit the next footstep, align the rectangle exactly with the center of the circle. For reference, you lot tin can utilise the points on the side of the circle when you click on the circle. Make certain that 1 side of the rectangle covers this diameter of the circle thereby covering half the circle.
Step iv – Select the Circle and Rectangle
First, brand sure that the circle is above the rectangle. To ensure that this is case, "correct-click" on the rectangle. Then, from the menu, click on "Bring to Pinnacle" choice. This will send the circle back and bring the rectangle on peak!
Now, beginning click on circle and so hold the "Shift" central and click on the "Rectangle". It is important you practice the steps in the verbal same sequence as described here!
When you do the footstep iv mentioned here, yous may non observe annihilation different and y'all may feel like zip happened. Only, brand certain that you do this!
Step 5 – Subtract Rectangle from the Circle using Merge Shapes Tool
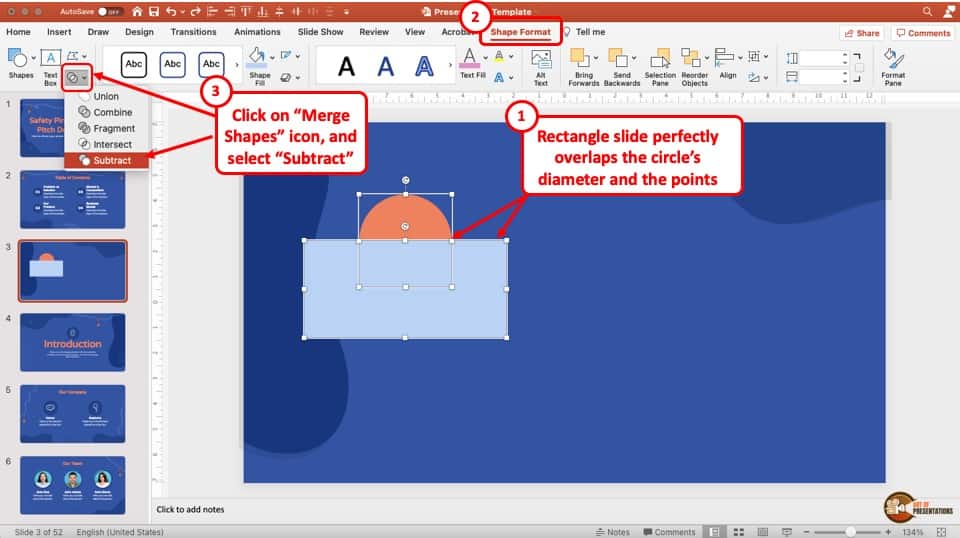
When yous select both the shapes, "Shape Format" ribbon volition announced. Click on it. Then, to the left part of your screen, yous will encounter the selection to "Merge Shapes".
Click on the merge shapes option, and from the dropdown, click on "Subtract".
Voila! Y'all now have your half circle or semi-circle!
Method two – Using the Pie Shape
This next method is a bit different from the previous method. It does involve inserting shapes, but the procedure of creating a semi-circle is a bit different. Let me show you lot what I mean.
Footstep 1 – Insert a Pie Shape

The outset pace is to insert a "Pie Shape".
To do that, click on the "Insert" ribbon. So, click on the "Shapes" choice. From the dropdown, locate and select the "Pie" option (equally indicated in the image in a higher place).
If yous are unsure what the shape is, y'all tin place your mouse cursor over the shape for a couple of seconds and PowerPoint will prove the proper name of the shape.
Step ii – Apply the Shift Key to Insert a Perfect Pie Shape
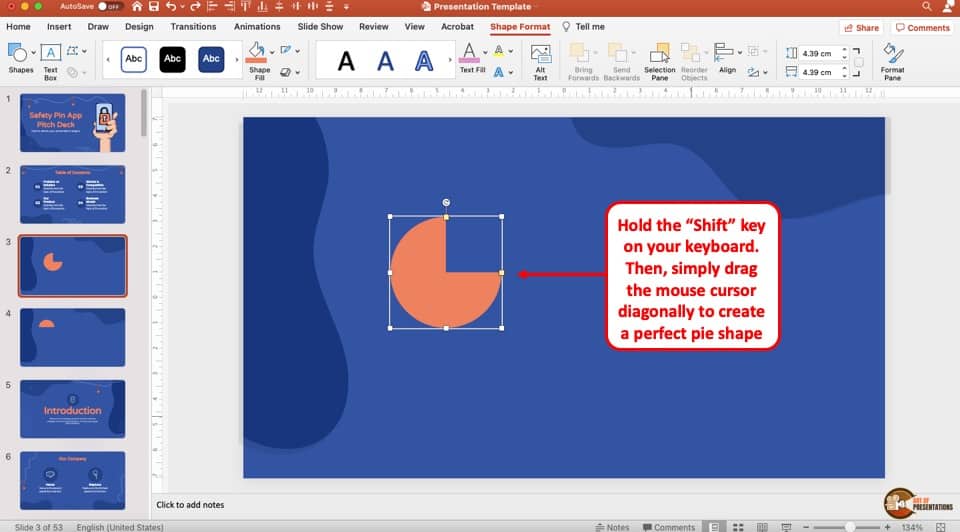
Adjacent, as we did in the previous method, utilize the "Shift" key to create a perfectly symmetrical pie shape.
Hold the shift primal and then elevate the mouse cursor in one direction (preferably diagonally). Y'all should finish up with a perfect pie shape (as shown in the image in a higher place).
Step 3 – Use the Handles to Suit the Pie Shape
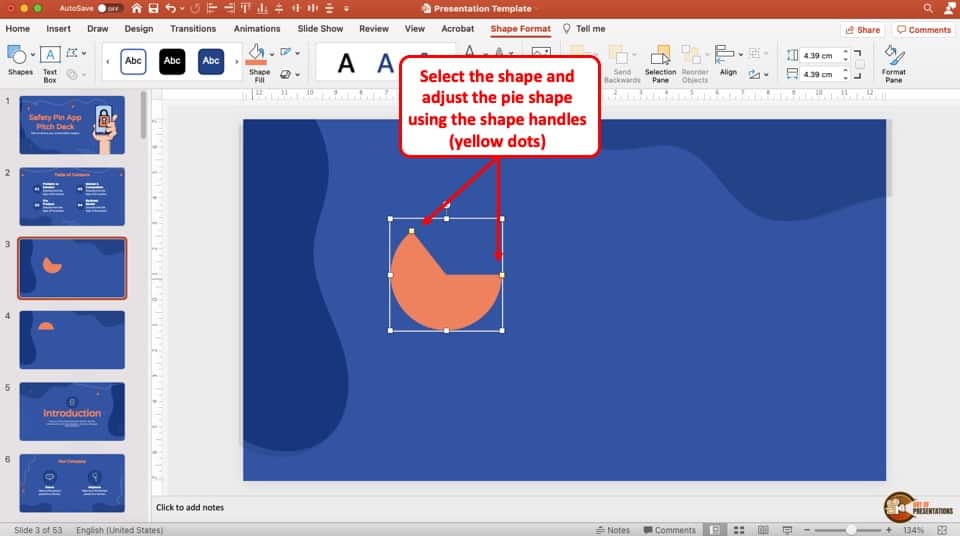
The final thing that you need to do is create a one-half circle by adjusting the shape handles denoted by the yellow dots.
To do and then, click on the shape starting time. And then, drag whatever one of the xanthous dots on the shape either management. Finally, adjust the two yellow dots such that they are diagonally opposite to each other.
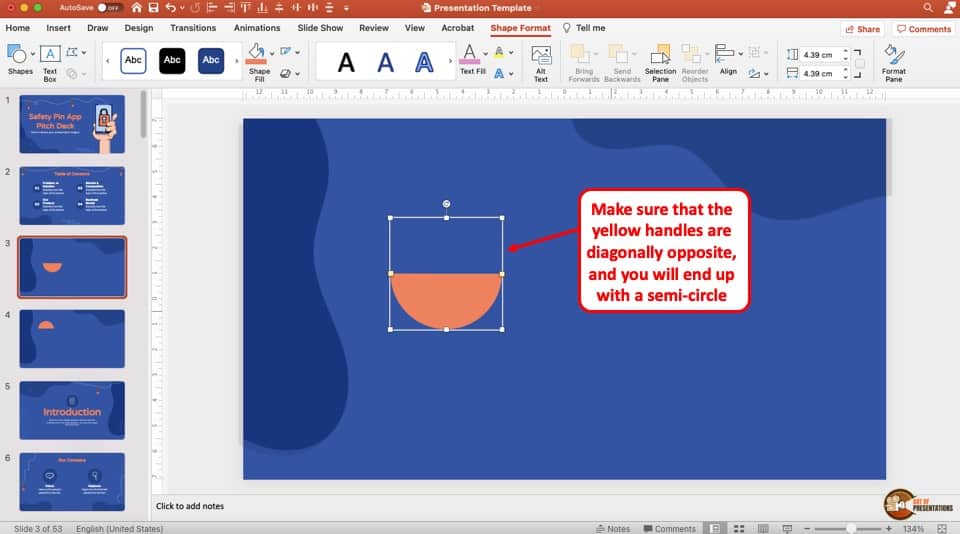
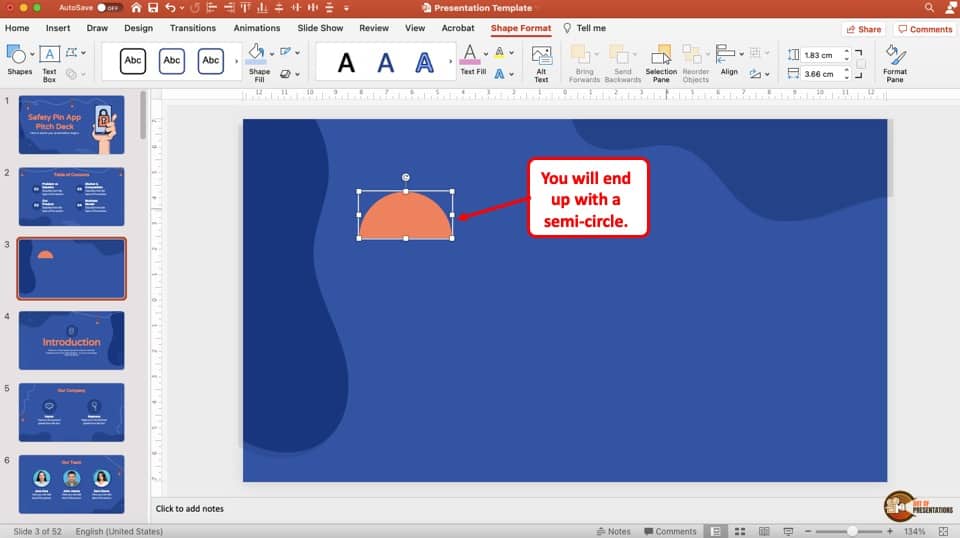
The end upshot should look something like shown in the image in a higher place. If so, you should have a semi-circle shape in front of you!
I prefer this method over the above. The beauty of this method is that you tin can even create infographics using this blazon of pie shape. But, that's a topic for another article!
2. How to Brand a Half-Filled Circle in PowerPoint?
Now that you've learned how to make a half circumvolve in PowerPoint, creating a half filled circle is actually quite easy.
Here's a step by step process on how to create a half-filled circle in PowerPoint –
Step 1 – Insert a Perfect Circle
Offset, insert a perfect circle using the steps described in method 1 above.
Simply, click on the "Insert" tab. Then, click on "Shapes", and from the dropdown choose the "Oval" shape.
So, agree the "Shift" key and elevate the mouse cursor on your slide in any direction. This will upshot in a perfect circle.
Step two – Insert a Pie Shape
Now, let's insert a perfect pie shape in a similar mode.
Over again, get dorsum to the "Insert" tab and click on the "Shapes" option. And then, from the dropdown, click on the "Pie" shape.
Every bit before, concord the "Shift" key and drag the mouse cursor in any i direction. This will insert a perfectly symmetrical "Pie Shape" on your slide.
Then, adjust the "Pie Shape" to make information technology a semi-circular shape (equally per the procedure mentioned in method 2 to a higher place).
Step 3 – Match the Shape Size of the two Shapes

In the side by side step, nosotros desire to make sure that the size of both the shapes i.e. the circle and the pie are equal in size.
To do that, select both the shapes. Then, click on the "Shape Format", and adjust the height and width of the shape to 4 cm each. This volition ensure that the pie shape matches perfectly with the circle.
If you lot want a bigger shape, you lot can increase or decrease this value but make sure that superlative and width should exist the same for both shapes.
Step 4 – Create the "Half-Filled Circle" outcome
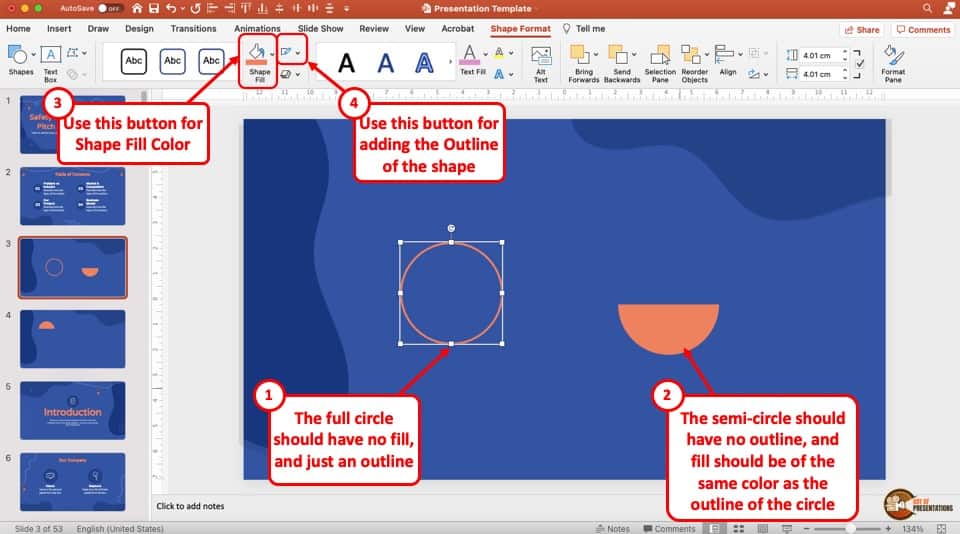
You lot can now see that the half-filled circle is already taking shape (pun intended!). The next affair that nosotros need to do is smooth the designs a bit so that the shapes can expect liked a one-half-filled circumvolve.
To do that, make sure that the circle has "No Fill", and just has an "Outline". Next, for the "Pie", make sure that it is "No Outline", and the fill up colour is the same as the outline colour of the circumvolve. (check the image higher up for your reference.
You can brand all these changes from the "Shape Format" menu past selecting the shape.
Step v – Marshal the Shapes
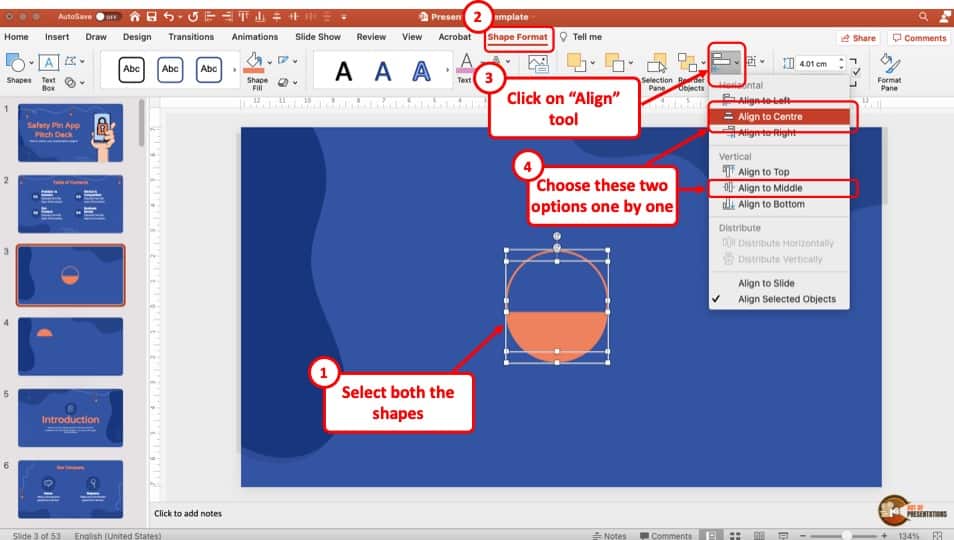
The last thing that we are left to exercise is to marshal both the shapes perfectly in order to create a semi-circle.
To do that, select both the shapes. You can practise that by holding the "Shift" primal on the keyboard and and then clicking on each of the two shapes one by 1.
Then, click on the "Shape Format" option. From the ribbon, click on the "Align" tool. Adjacent, from the dropdown that appears, click on the "Align Heart" choice. Click on the "Marshal" tool one time again, and then choose the "Align Middle" button.
This will ensure that both the shapes are perfectly aligned with each other.
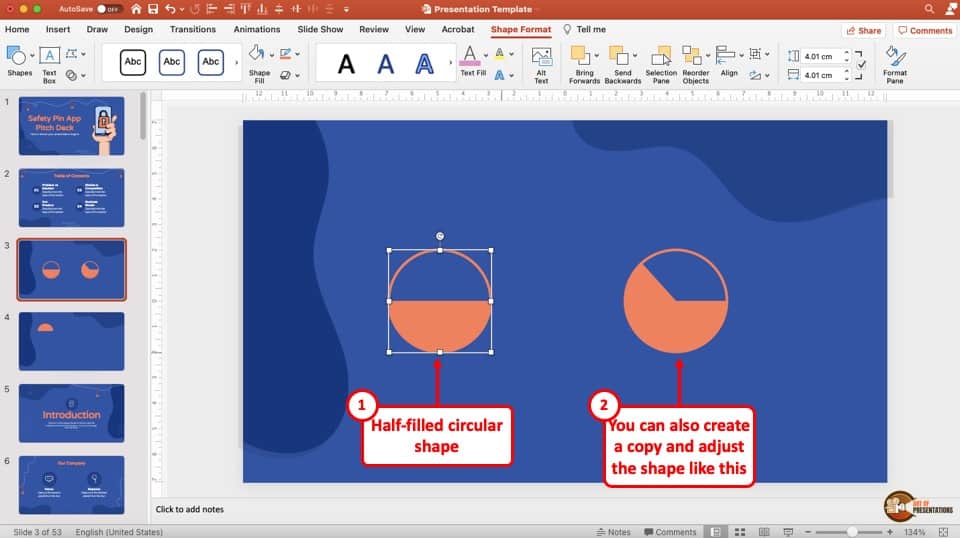
Once you have created the shape, you can too re-create and paste the shape or create a duplicate shape by using the "Ctrl+D" option. Finally, you can adjust the handles of the semi-circumvolve to make the shape look like a partially filled pie chart!
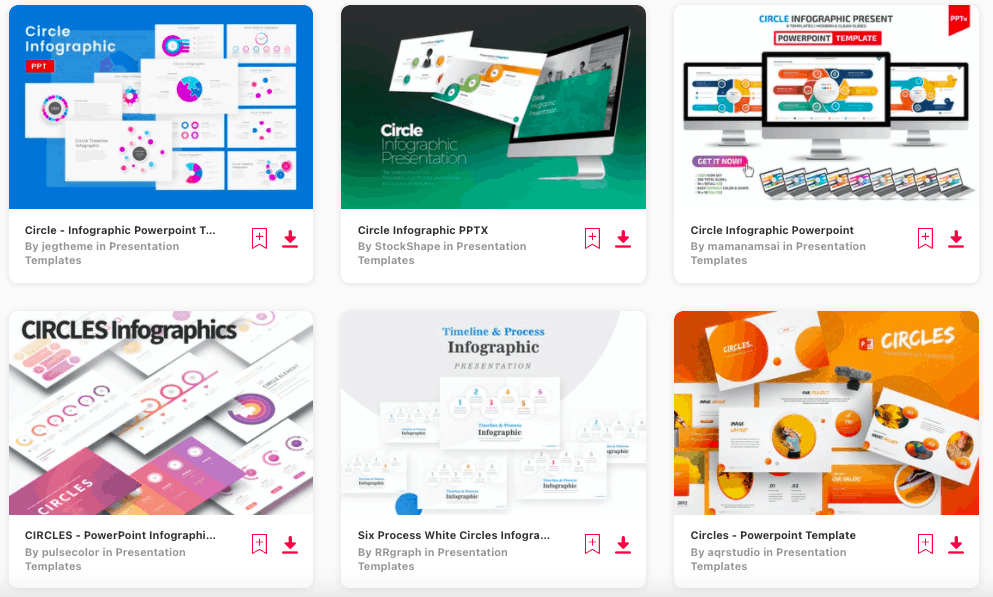
3. Circle PowerPoint Templates
If all this is a fleck too much for y'all, a improve choice is to go with a PowerPoint template. Envato provides several dissimilar PowerPoint templates to cull from.
Beneath, I've listed three of the summit circle based presentation templates. They are reasonably priced so yous can get any 1 of them. Plus, they provide a ton a different circle designs and you go all of them instantly!
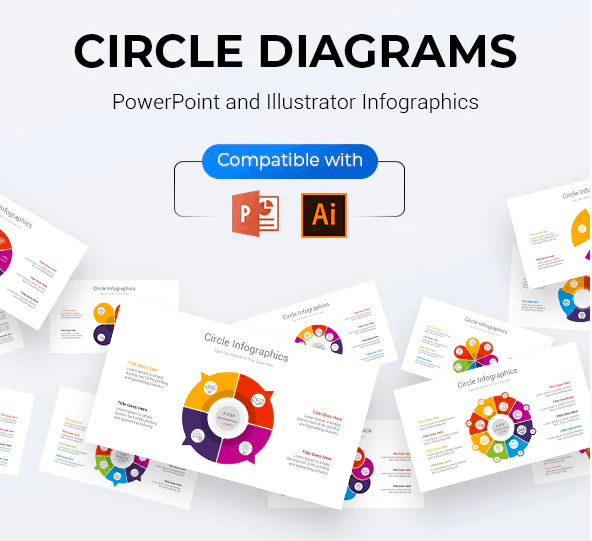
1. Circles PowerPoint Infographic
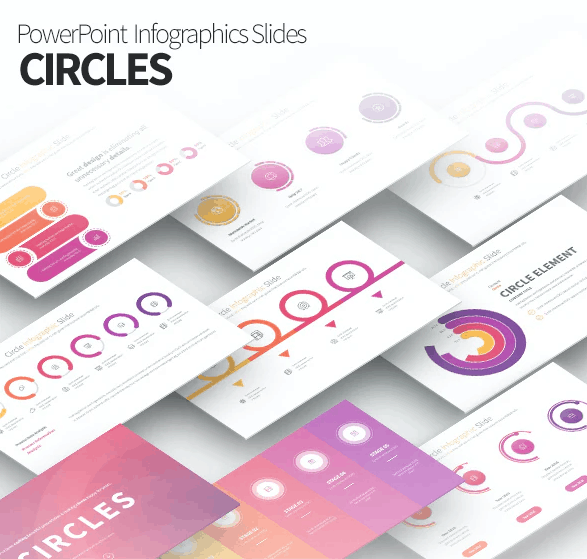
This template provides a ton of different circle layout options. To me, it looks quite modern and make clean for most presentations. The interesting role is the circle designs used can actually be applied to more only infographics.
This template is available at merely $10, which is one of the cheapest price points to find a expert template similar this!
2. Circumvolve Diagram Infographic Template
This template is great when you lot desire to use circles to illustrate infographics. 1 downside of this template is that the circle infographic used in this templates can not exist used individually for other slides.
Plus, this templates costs almost twice the 1st selection provided. But all-in-all, a good template to go with if you lot are looking for circle based infographics!
3. Circle PowerPoint Infographic V3
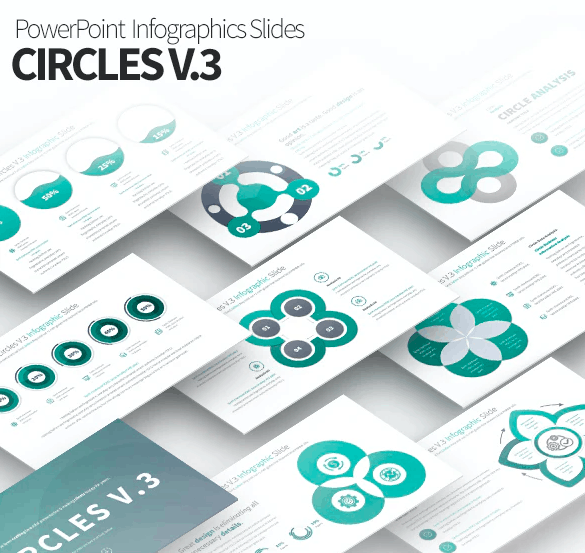
Then this template is also quite good. In fact, this is the 3rd version (more advanced) of the 1st choice presented in this list. It is designed by the same creator.
Information technology comes with a different set of designs as compared to the first option listed here. Both the templates expect good. This template is priced at $12. So, it is quite reasonable as well.
You practice go upto 33 slide design options and it is easy to edit the shapes.
4. Envato Elements Subscription (Unlimited Download!)
Another option can exist to use the Envato Elements. Basically, this provides y'all with unlimited presentation templates to exist downloaded at a stock-still price per month! You heard that right, you become UNLIMITED presentation template downloads. No questions asked!
The subscription is priced starting at $16.5 per calendar month if y'all become for an annual plan. But, you lot tin can also go for a monthly plan for $33/month. Use the subscription for a month, download as many templates equally you desire, and so cancel the plan! (FYI – there are over 27,000 templates bachelor for PowerPoint lonely!)
That fashion, you potentially go hundreds of presentation at just $33! I think that'south a bang-up deal!
Check out the various presentation templates available for PowerPoint on Envato Elements.
More PowerPoint Related Topics
- How to Apply a Presentation Clicker to Deliver Presentations Effectively!
- How to Ingather a Picture in PowerPoint? [Complete Footstep-past-Step Tutorial!]
- How to Give a Presentation on Zoom? A Helpful Resource!
- How to Convert a PowerPoint to PDF? [A Simple Guide!]
- PowerPoint vs Google Slides: Which is Amend? [ULTIMATE Test!]
- How to Change Bullet Manner in PowerPoint? A Complete Guide
Credit to KamranAydinov (on Freepik) for the Featured Image of this Commodity (farther edited)
Source: https://artofpresentations.com/create-a-semi-circle-in-powerpoint/
0 Response to "How to Draw a Circle Around Something in Powerpoint"
Post a Comment